Reposted from here, really amazing post!
Install and use Zabbix on CentOS 7 or RHEL 7
Zabbix is a monitoring tool which is widely used in all kinds of environments. Zabbix is very flexible, information can be retrieved using HTTP/SNMP or by installing a Zabbix agent on the machines to monitor, and allows a lot of customization. Unfortunately this also means that the learning curve can be rather high. This post will go a little deeper into the installation process and the first steps in Zabbix.
Zabbix can be installed from most standard repositories in a variety of Linux distributions. For this post, I’m using CentOS 7 and I decided to use the official Zabbix repository to ensure that we’re using the latest version of Zabbix. Zabbix requires a database backend and for this post, I will use MariaDB (a fork of MySQL).
Add the Zabbix repository and install the packages
The first step is to enable the Zabbix official repository by creating a file in /etc/yum.repos.d:
Contents of the file:
The packages in the standard CentOS repositories have the version number in their name. (zabbix22 for version 2.2) so they will not conflict with the packages from the repository which we added.
To be sure, we can check if we really are installing the latest version:
As you can see, package Zabbix is version 2.4.3 and it will be taken from the repository which we just added, named Zabbix.
Besides the Zabbix-repository, you will also need the EPEL repository for some dependencies. If you haven’t done so, add that repo too:
Now that we are sure that Yum has access to the correct packages, let’s install what is necessary:
Configure the database
After installing the packages, we need to do initialize MariaDB and set the root password. Don’t get confused with all the references to MySQL in the commands below. MariaDB is a fork of MySQL and clearly branding wasn’t very high on the priority list :)
Now that MariaDB is running and initialized, we can add a database for Zabbix, named zabbix, and create a user that has access to that DB. Use the root-password which you changed in the previous step when asked for a password and replace secretpassword with your own password for the zabbix database user.
Now that the database and user are ready, it’s time to create the database schema for Zabbix in the DB which we just added. The schema is delivered with Zabbix in /usr/share/doc/zabbix-server-mysql-<version>/create/. (If you would install the packages from the standard repositories, the schema can be found in /usr/share/zabbix-mysql/.)
Be aware that, for this post, I’m leaving the rest of the MariaDB configuration at it’s default. For a production environment you really need some tuning in MariaDB to optimize the database system. To do so, I recommend using Zabbix for a while and then use https://github.com/major/MySQLTuner-perl on a regular basis to tune the database parameters. This approach is very straightforward and delivers very good results with a minimal effort.
Configure the webserver
At this point, our database is ready so the next step is to configure the webserver (Apache) and PHP.
The default parameters of PHP need some tuning for Zabbix:
The above commands just replace lines in /etc/php.ini by a line with the correct value. You can also edit the file by hand if you would like to.
Next up is Apache. The Yum-installation, created a file for Apache in /etc/httpd/conf.d/zabbix.conf. Edit this file to look similar to this:
Configure Zabbix parameters:
Next in the list, is the Zabbix configuration file for the server. It needs to know the password which we set for the zabbix database user earlier. Replace secretpassword with your own password which you set for the zabbix database user:
In order to avoid some warnings like: “Less than 25% free in the configuration cache” or “Zabbix icmp pinger processes more than 75% busy”, set some more parameters in the file:
Security considerations
Before we can really use Zabbix, we need to open up the firewall to allow access to the Apache webserver and the webinterface of Zabbix. I’m assuming that outgoing traffic is allowed, otherwise you also need to open up UDP 161 for SNMP and TCP 10050 for the Zabbix agent.
With firewalld:
With iptables:
When using SELinux, we need to allow Apache to communicate with Zabbix:
Start and initialize Zabbix
At this point, most of the configuration should be completed. The only thing that is left is to start the services related to Zabbix and finish the configuration by using the webinterface:
Start the services:
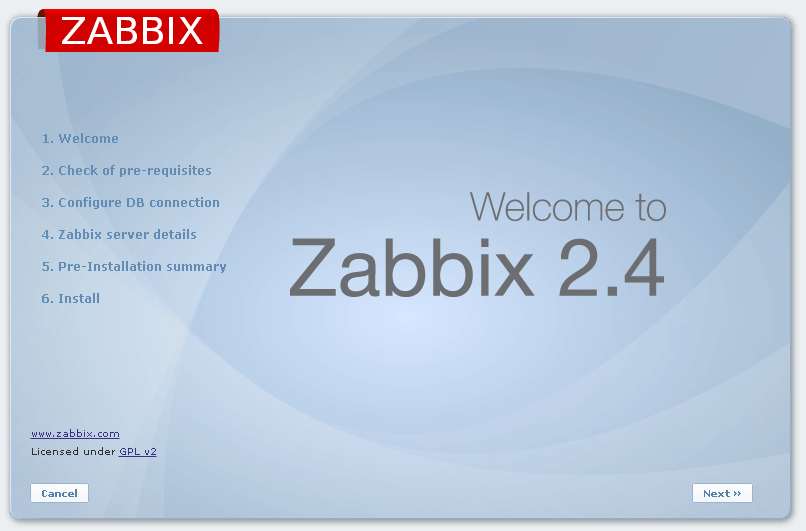
After starting the services, browse to the following URL: http://<ip or hostname>/zabbix (for example: http://192.168.202.101/zabbix). If all goes well, you should see something like this:
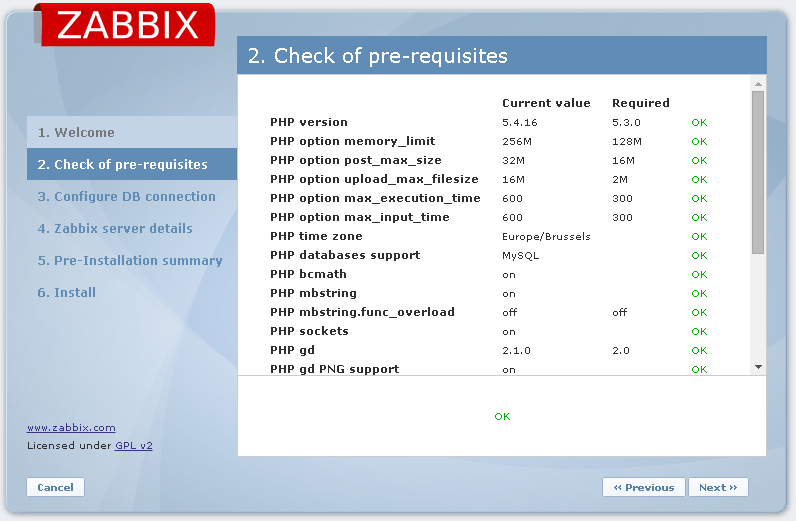
Click next and check if everything is marked with OK:
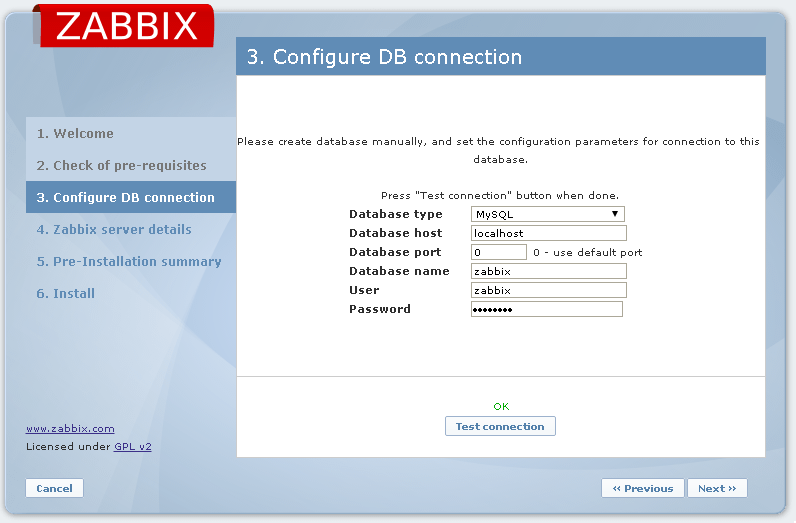
In the next step, enter the details about the MariaDB user which we created (named zabbix and password secretpass):
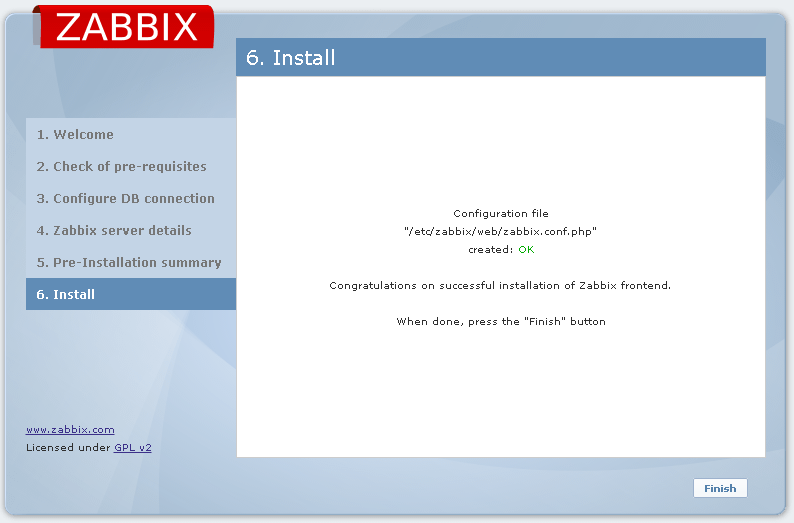
Continue to step 6 and finish the installation:
After clicking finish, you should see the login screen to your new Zabbix installation:
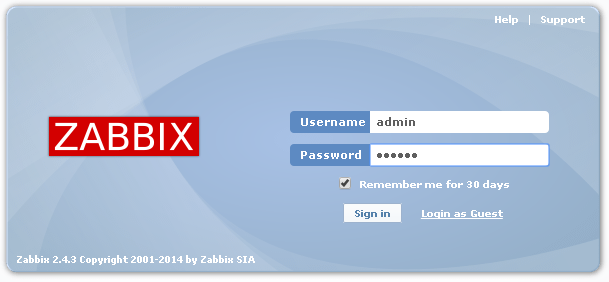
The default username is admin and the default password for that user is zabbix.
At this point the Zabbix server is ready to use.
Basic actions for hosts to monitor:
Now that we have our Zabbix server up and running, we need to have something to monitor. For several types of hosts, there is an agent available. The agent is listening for requests on TCP port 10050 so make sure that this port is open from the Zabbix server to the host to monitor
INSTALL THE ZABBIX AGENT ON LINUX:
The Zabbix-agent is part of the base repositories of almost all standard Linux distributions so the easiest is to install it from here:
After the installation, set the hostname of the Zabbix-server in /etc/zabbix/zabbix_agentd.conf to match your configuration. Replace 192.168.202.101 by the IP or hostname of your Zabbix-server:
To disable the active checks, clear the value of the ServerActive parameter:
Enable the service and make it persistent:
INSTALL THE ZABBIX AGENT ON WINDOWS
To install the Zabbix agent on a Windows machine, I created a small archive that contains the Zabbix agent for 64bit Windows installations.
Download the archive here: http://jensd.be/download/zabbix-agent-win64.rar
You can simply extract the archive and edit the following line in the file zabbix_agentd.win.conf:
Replace it with the hostname or IP of your Zabbix server.
After changing zabbix_agentd.win.conf, run the install-agent.bat. It creates a service for the Zabbix agent and starts it.
ENABLE SNMP ON LINUX
Besides using the Zabbix agent, you can also monitor hosts using SNMP. SNMP isn’t always as fast and flexible as the agent but does the job. Also SNMP can be used for devices that can’t have an agent installed (like a switch):
Install the net-snmp package:
Create the snmpd.conf file in /etc/snmpd/snmpd.conf:
The community string is set as public in the above file, change it to something else if you prefer to.
After configuring, start and enable the service:
Add a host in Zabbix
After installing SNMP or a Zabbix agent on your systems, you can add them in Zabbix as follows:
Log on to the web interface by browsing to http://<ip or hostname>/zabbix (for example: http://192.168.202.101/zabbix) and log in.
Go to Configuration – Hosts and click on “Create host”:

In the next screen, enter a host name, add the host to a group by selecting it on the right side and clicking <<.
When the host has the agent installed, enter the DNS-name or IP for the host in the Agent interfaces. For SNMP, remove the Agent interface and add an SNMP interface containing the same information.

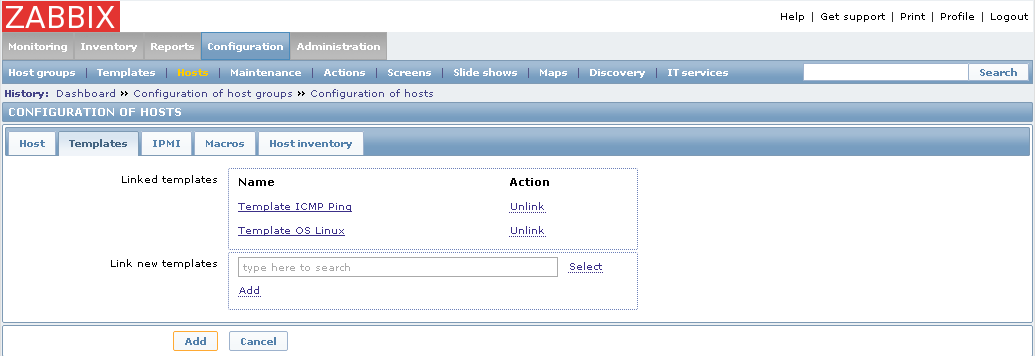
On the templates tab, add ICMP ping and a template that matches the host (for example “Template OS Linux” for a Linux host with a Zabbix agent or “Template SNMP OS Linux” for a Linux host with SNMP).
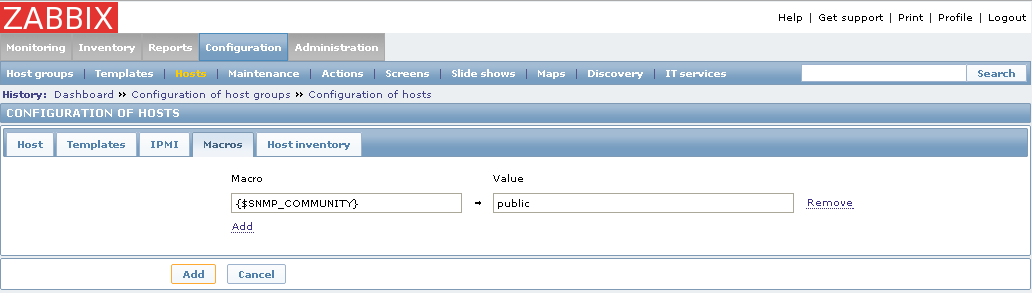
When using SNMP, you need to enter the community string which you have chose (public in my example above) on the Macros tab:
Finally click Add and the host should be monitored. Don’t panic if you don’t see information iimmediately give Zabbix some time to discover all items that are relevant for the host.
This should be all it takes to get started with Zabbix. Take some time to explore Zabbix’ functionality and experiment to discover all features.
No comments:
Post a Comment